Guide to Installing Solar Panels
Installing solar panels allows you to generate your own electricity, reduce your carbon footprint, and lower your energy bills. While professional installation is recommended for most homes, elaborate DIY installations are possible if done carefully. This comprehensive guide will walk you through the solar panel installation process and provide tips to help you make the switch to solar energy.
The Benefits of Going Solar
Before delving into the installation steps, let’s overview some of the key benefits that solar panels can provide:
- Lower Electricity Bills – Solar panels can drastically cut your electricity bills by generating clean energy right from your own roof. The electricity generated can power your home during the day and any excess can be exported back to the grid.
- Reduce Environmental Impact – Solar power generates emissions-free renewable energy. By switching to solar, you can effectively reduce your carbon footprint and do your part in fighting climate change.
- Energy Independence – Producing your own solar electricity means relying less on utility companies and the grid. Solar paired with batteries provides energy autonomy.
- Lower Maintenance Costs – Solar panels have a long lifespan of 25-30 years and minimal maintenance needs after being installed. This provides long-term savings.
- Increased Property Value – Homes with solar panels have been shown to have a higher resale value compared to non-solar homes.
With incentives, tax credits, and falling solar costs, there has never been a better time to go solar. The return on investment timeline is now under 10 years for most households.
Choosing the Right Solar Panels
Solar panels, also known as photovoltaic (PV) panels, convert sunlight into direct current (DC) electricity. When choosing panels, you’ll need to consider:
- Solar Panel Types – The three main types are monocrystalline, polycrystalline, and thin-film panels. Monocrystalline panels are the most efficient but also the most expensive.
- Panel Efficiency – Typically ranges from 15% to 22%. Higher efficiency ratings convert more sunlight but also cost more per watt.
- Panel Warranties – Look for at least a 20-25 year power output warranty and 10 year manufacturing warranty.
- Quantity of Panels – More panels mean more energy production but also higher cost. Consider your available roof space.
- Cost per Watt – Keep costs low by looking at this metric when comparing panels. Nationwide average solar panel cost is $2.70/watt.
These are important considerations when choosing a solar panel for your energy needs. Monocrystalline panels tend to be more efficient but come at a higher cost, while thin-film panels are less efficient but require more space. Polycrystalline panels offer a balance between efficiency and cost. The choice depends on your specific requirements and budget.
| Panel Type | Efficiency | Cost | Space Needed |
|---|---|---|---|
| Monocrystalline | 15-22% | $3.00+/watt | Least |
| Polycrystalline | 13-18% | $2.20/watt | Moderate |
| Thin-Film | 10-13% | $2.00/watt | Most |
Assessing Your Solar Potential
Determining your home’s suitability for solar comes down to two main factors – location and roof space.
The first step is to use an online solar calculator to estimate the solar potential of your address. The optimal solar locations are the sunbelt states like Arizona, California, and Florida which receive abundant sunlight year-round. Northern states can still produce solar energy but the colder winter months will be less productive.
Next, examine your roof and see if you have adequate unshaded space. General guidelines recommend having a south-facing roof with at least 100 square feet of free area for a small solar array. Using satellite maps can help you visualize obstructions and find the sunniest spots. Flat or low-pitched roofs are the best candidates.
You can also hire a professional solar site assessor to conduct a detailed evaluation and provide solar production projections. They will consider the roof layout, structural integrity, and take sun exposure measurements.
The Solar Panel Installation Process
Ready to move forward with your solar project? Here is a step-by-step overview of the major installation phases:
Step 1: Site Assessment and Planning
A professional installer will start by visiting your home to assess the site and develop the system design. They will inspect the roof, measure shading obstructions, and use 3D modeling software to plan the optimal panel placement and tilts. The assessment determines the home’s energy needs, proper system size, equipment required, and projected cost savings.
Step 2: Permitting and Regulations
Most local municipalities require permitting and inspections for solar installations. Your installer will take care of the permit application process and ensure compliance with all codes and regulations. Common permits include electrical, structural, and building. HOAs may also have aesthetic requirements regarding panel visibility.
Step 3: Ordering System Components
After the system design is complete, the necessary solar equipment can be ordered. The main hardware includes the photovoltaic panels, racking mounts, inverter(s), and a remote monitoring system. Cables, connectors, conduit, and any additional mounts will also be procured. Delivery times can range from a few days up to several weeks.
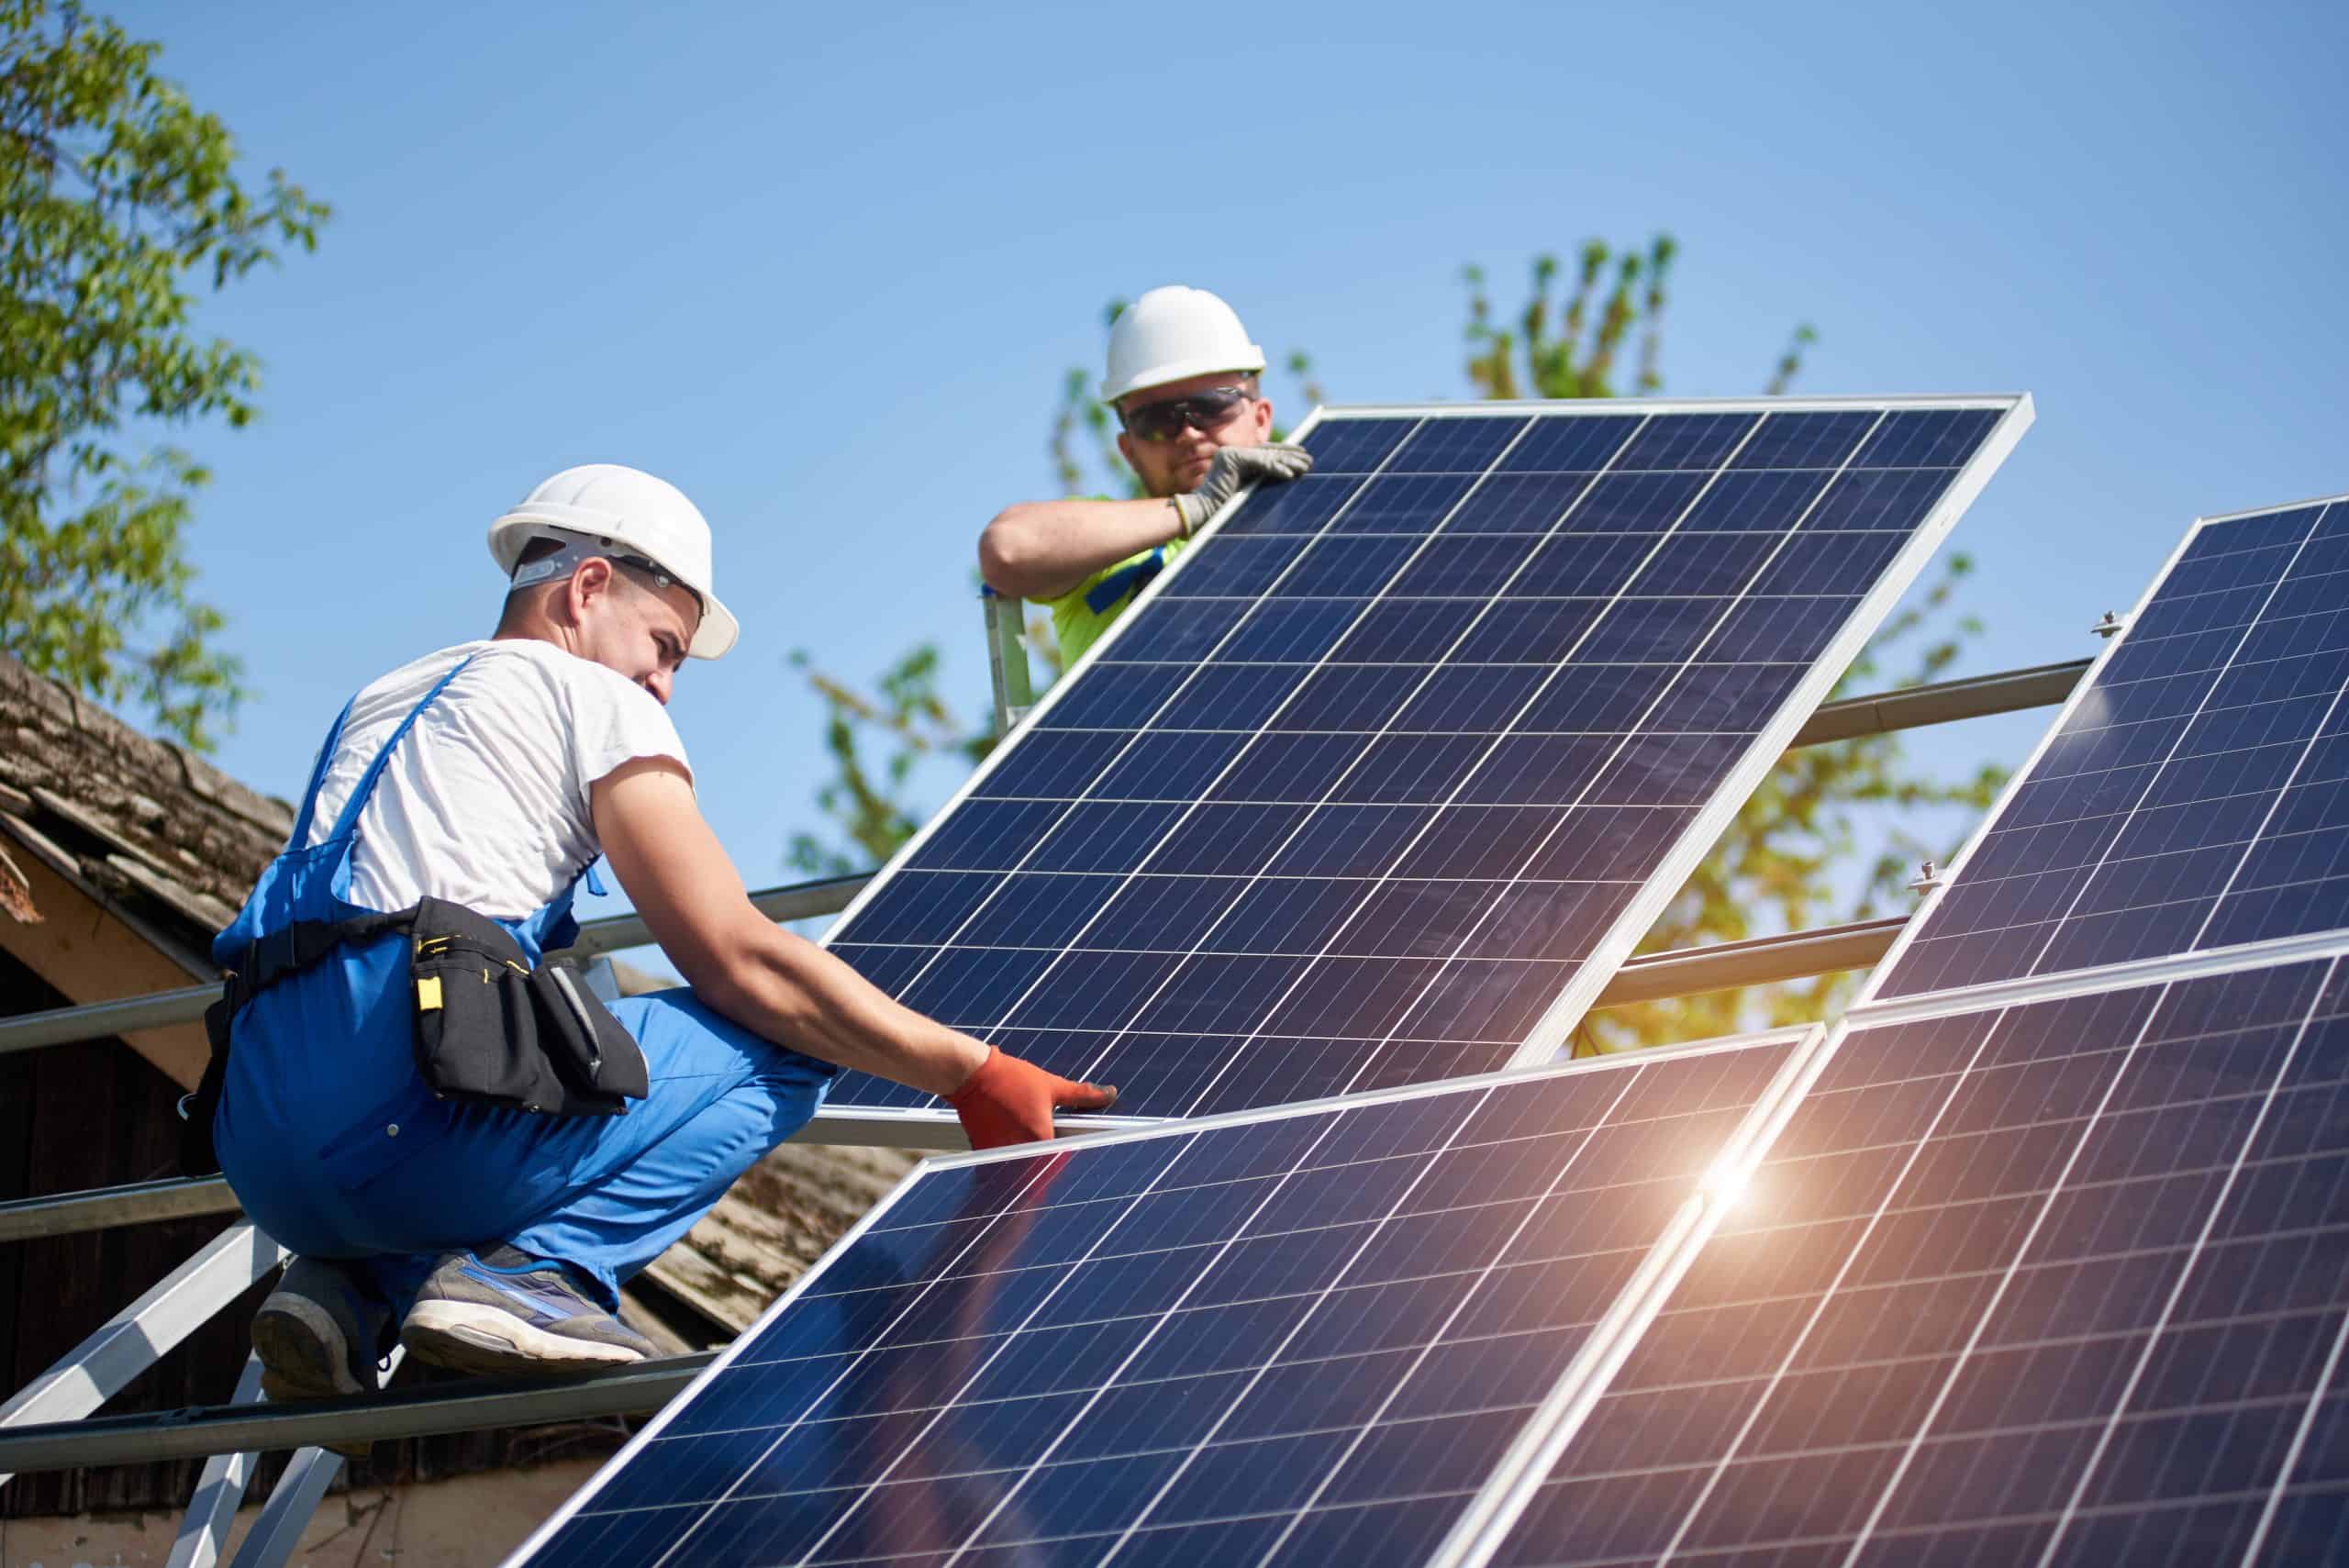
Step 4: Installation of Racking and Panels
Once all the gear is on site, the racking and mounting structure will be installed if not already in place. Aluminum and galvanized steel are common racking material options. The panels are then securely attached to the racks using clamps. On a sloped roof, a tilting racking system is used which angles the panels at the optimal degree.
Step 5: Connecting Panels and Conduit Runs
The solar panels need to be wired together into strings then connected to the inverter. The cables are run through conduits when passing through walls and other protected areas. MC4 connectors are commonly used to link the panel ends into series. A combiner box consolidates the string inputs.
Step 6: Mounting and Connecting Inverters
Inverters play a critical role in the solar power system – they convert the DC electricity from the solar panels into usable AC power for your home’s outlets and appliances. Central inverters are usually wall-mounted while microinverters are attached directly on each panel. The inverters will be wired to the main electrical panel and integrated with the utility meter.
Step 7: Safety Inspection and Testing
Before completion, the county building inspector will assess the installation to ensure proper permitting, electrical safety, functionality, and code compliance. Your solar company will also fully test the equipment, measure performance metrics, and correct any issues.
Step 8: Final Solar Panel Inspection
The county/city inspector will return on-site to give final approval after all inspections are passed and corrections made. The local utility company will then complete the final interconnection process to authorize your system to operate in parallel with the electrical grid.
Step 9: Begin Generating Solar Energy!
With the county and utility approvals in place, you can officially turn on your solar panels! Monitor your electricity production through the online dashboard and enjoy the benefits of clean solar energy.
Safety Best Practices
Safety should always be the number one priority during solar installations. Here are some key precautions installers must take:
- Use fall protection harnesses and anchors when working on rooftops.
- Follow electrical safety procedures such as power disconnects and lockouts.
- Keep the system isolated and tagged until inspections are passed.
- Wear proper PPE – glasses, helmets, gloves to minimize hazards.
- Cover panels and cordon off work areas to prevent accidents.
- Maintain tidiness and organization on the job site.
Only seasoned solar professionals should undertake demanding tasks like electrical wiring and roof alterations. Contacting local solar companies is highly advised over attempting hazardous DIY installations. Safety practices are improved through installer certification programs and OSHA training.
DIY Solar Panel Installation
While it is recommended to hire a qualified professional solar installer for grid-tied systems, some homeowners choose to self-install solar panels. The benefits of DIY solar installation include cost savings, sense of self-reliance, and the learning experience. However, there are also significant drawbacks and risks:
Pros of DIY Solar Installation
- Lower equipment and labor costs
- Learn hands-on solar skills
- Flexibility and control over the project
- Potential satisfaction of self-installing
Cons of DIY Solar Installation
- No professional guidance or safety oversight
- High likelihood of mistakes or code violations
- May void equipment warranties
- Possible difficulties obtaining permits and passing inspections
- Liabilities of rooftop work and electrical wiring
- Lack of expertise for ideal system design
Unless you have professional electrical and construction experience, DIY solar is quite challenging. Common stumbling blocks for DIYers include improper mechanical and electrical installations, violating building codes, and failing safety inspections. Mistakes can lead to lower system performance, dangers of shock or fire, and voiding your home insurance policy.
For those determined to install their own solar panels, extensive research and careful planning is imperative. Seek consultations from solar experts, use 3D modeling tools to design the system layout, watch installation guides, and request code official guidance. Have an electrician connect the system to your home’s electrical panel. Avoid taking shortcuts – your diligence helps ensure safety, compliance, and proper functioning.
Solar Panel Maintenance
Solar power systems require minimal but crucial maintenance. A proper maintenance schedule will keep your solar panels performing optimally for their 25+ year lifespan. Here are some best practices:
- Inspect Electrical Components – Check all electrical boxes, inverter, wiring for damage, wear or overheating. Tighten any loose connections.
- Clean Solar Panels – Remove dirt, dust, bird droppings, snow cover at least twice per year for optimal solar absorption.
- Inspect Racking – Re-secure any loose panel clamps or mounting hardware. Check for corrosion.
- Monitor Production – Watch for any sharp declines in output and troubleshoot issues.
- Trim Vegetation – Keep trees, shrubs from shading panels.
- Check Inverter and Batteries – Confirm proper functioning and replace backups as needed.
Following the manufacturer’s maintenance guidelines is highly recommended. For large solar farms, drones and infrared imaging are used to efficiently assess array health.
Establishing a monitoring and maintenance plan will extend the lifetime of your investment and ensure your solar power system stays problem-free for decades.
Conclusion
I hope this guide has helped demystify the solar panel installation process while outlining the remarkable benefits of solar energy. By leveraging incentives, governments and homeowners alike can accelerate the transition to renewable solar power. Although professional installation is preferred, with ample research and preparation DIY solar projects are feasible. If you choose to go solar, be sure to take the necessary safety precautions and abide by all codes. With diligent maintenance, your new solar array will provide clean, sustainable energy for the next 30 years. Let the sun work for you and power your home with emissions-free electricity.